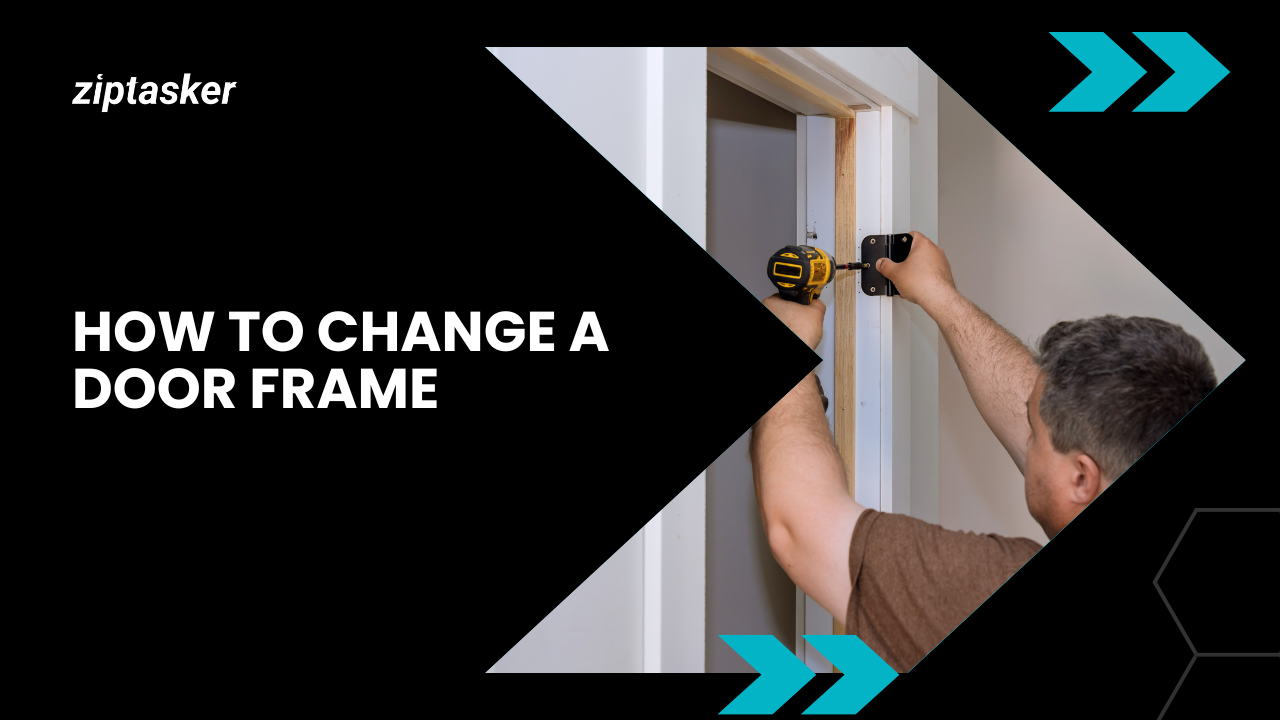
Whether your door frame is broken beyond repair or you want to install a different size door, replacing it yourself can save you money. This door frame replacement instruction helps DIYers replace a door frame easily. A few tools, supplies, and an afternoon are enough. Installing the new frame begins after removing the old one. Replace a frame to brighten up each area in your home.
1) Build the Door Frame
A door frame kit is suitable for reinstalling your door in the new frame. frame kits are cheaper than prehung doors, which contain the frame and door. If your door is prehung, skip this step.
Assemble your door frame kit immediately. Weatherstripping, two side jambs, and a head jamb are typical. Two holes on each side of the head jamb should be pre-drilled. Then put the two side jambs on their narrow sides and position the head jamb flat on top. Top of side jambs should touch head jamb.
Make sure side and head jamb edges are flush. Then use your power drill to screw the side jambs to the head jamb through the holes you pre-drilled.
Double-check that all secured corners are 90 degrees with a utility square. The frame can be placed on a large piece of wood to guarantee plumb and level jambs.
After verifying the 90-degree angle, use a hammer and nails to fix a diagonal piece of wood across both corners to secure it. This wood will be removed after frame installation.
2) Position Frame in Doorway and Mark Nail Points
Take the door frame (or prehung door) and insert it in the rough opening where the old one was. Mark where to pound the nails with a pencil.
Start with the door hinge jamb. Mark your first nail point 100 mm from the jamb bottom. Mark the remaining nail points 450 millimetres apart. Put as many nail points as that space allows.
3) Frame Securement and Shims
Hammer nails into each of the nail spots you marked in the previous step, starting with the hinge-side jamb and going around. Use a level occasionally to keep the jambs plumb while securing them.
Shims between the wall and jambs can level your frame. You may need to put this on both jamb sides and the top (head jamb). Use a level to confirm. Score the shims with a utility knife to make them flush with the wall when finished.
4) Door Mount
If your door is prehung, skip this step. Now is the moment to hang your own door. Gently place the door in the frame. Then position the hinges and use a power drill to screw them to the frame. Install the striking plate or other hardware now.
5) Insulate gaps with foam
An original frame installation often leaves minor gaps around the frame’s edges where it meets the wall. Add foam insulation to gaps for proper insulation. Then let the foam dry before continuing.
6) Trim installation
After installing the door frame, reattach the trim. You can nail back your previous trim if it’s in good condition. If not, buy new trim and repeat.
Apply a little amount of caulk around the trim’s edges after nailing it back. The caulk should dry, making your new door frame safe to use!
Read More: The Pawsitive Impact of Pets: Why Our Furry Companions Matter


